Polaroid 110A to 4x5 Conversion (for Lomography's Lomograflok)
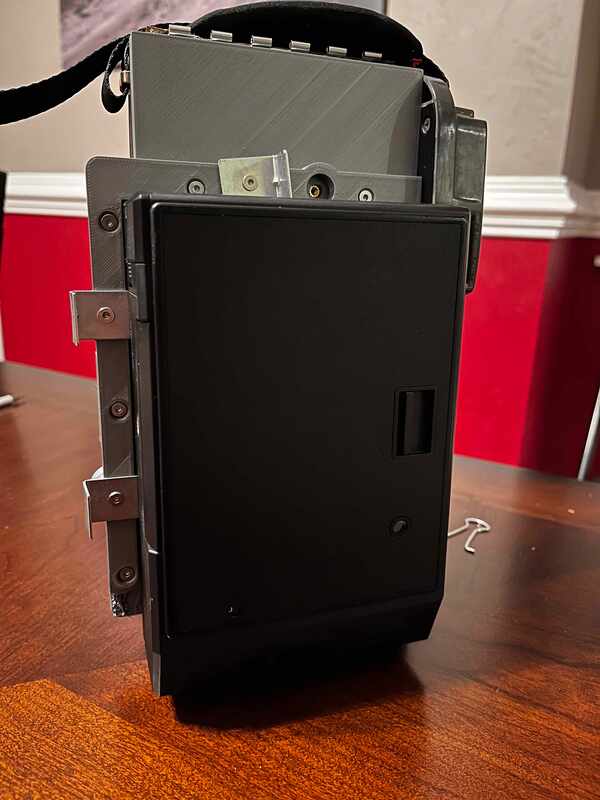
I decided I wanted to get more use out of my new Lomograflok back, but the only 4x5 cameras I had around were monorail cameras. My shoulder can't withstand the weight of a 6x7 SLR so I know I wouldn't want to tote my monorail camera around. .
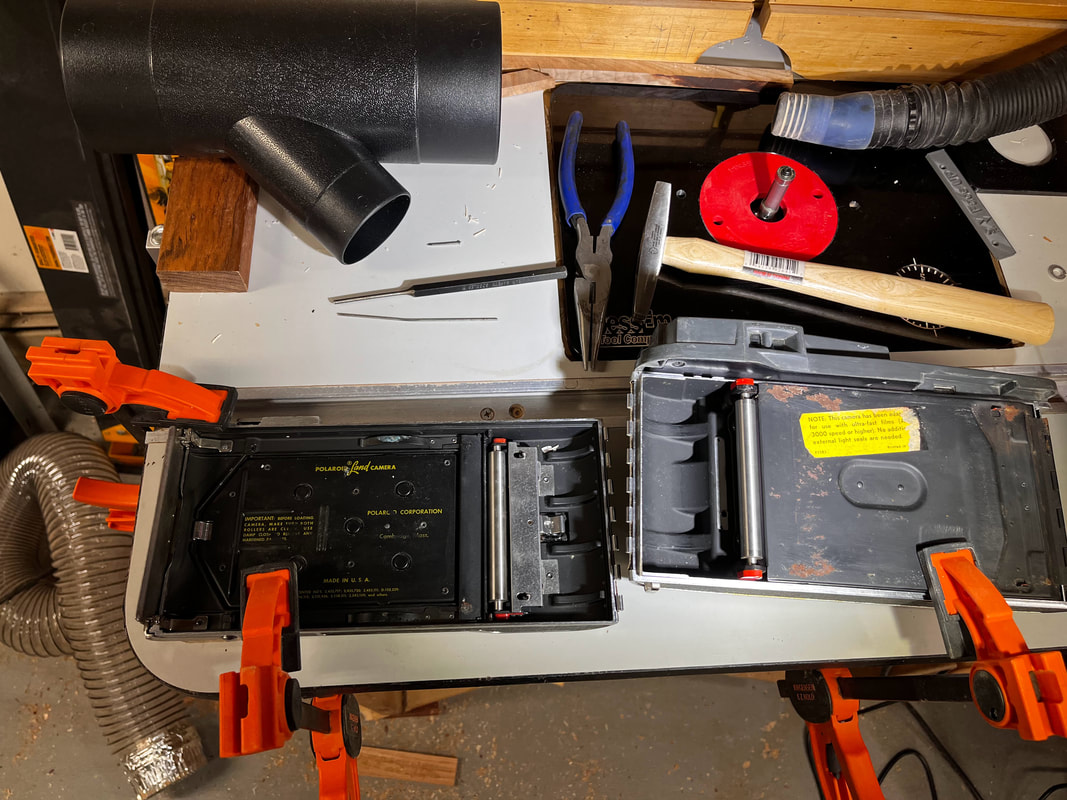
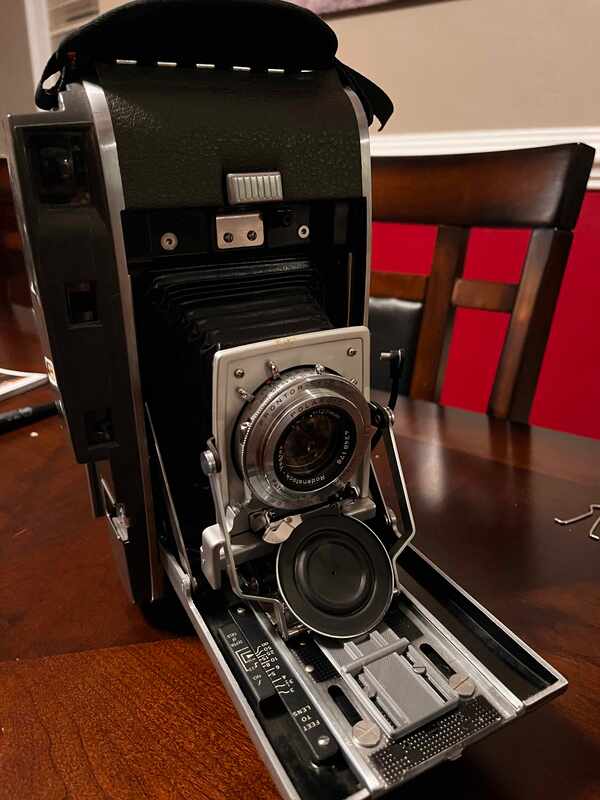
After browsing through a couple of resources, I determined that I was up for the challenge of following the steps outlined in some of the blogs and pictures and decided it was time to find a polaroid 110A or B to hack. A quick search on eBay, and I had one at my doorstep in a week.
It needed some work, the front lens cap was spray painted in black, and there were blobs of dust all over the camera (which might have been mold but I didn't want to think about that). I quickly cleaned everything I could get to with isopropyl wipes, including the viewfinder and rangefinder internals.
These are the blogs I followed, and their corresponding Thingiverse links:
Some thing I did differently:
After browsing through a couple of resources, I determined that I was up for the challenge of following the steps outlined in some of the blogs and pictures and decided it was time to find a polaroid 110A or B to hack. A quick search on eBay, and I had one at my doorstep in a week.
It needed some work, the front lens cap was spray painted in black, and there were blobs of dust all over the camera (which might have been mold but I didn't want to think about that). I quickly cleaned everything I could get to with isopropyl wipes, including the viewfinder and rangefinder internals.
These are the blogs I followed, and their corresponding Thingiverse links:
- Morten Kolve, who not only sells his parts on eBay but also provided instructions and parts for free that covered most of the conversion process. I especially liked the lack of physical modifications required (read: no grinding) to get the back to properly fit.
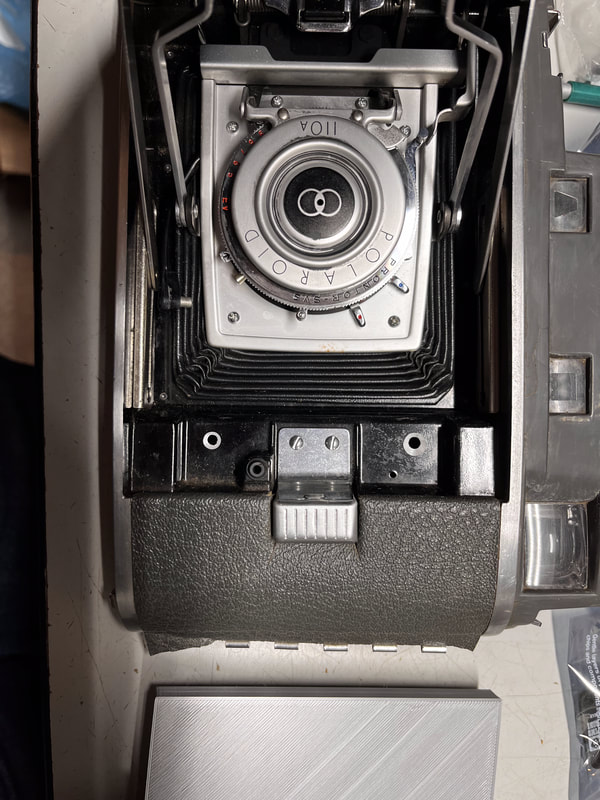
- Albert Cornelissen, who has some excellent photos documenting his process and who's infinity focus adjustment insert I needed to install to account for the fact that the Lomograflok's film plane is a good half inch behind where the typical 4x5 film plane is.
Some thing I did differently:
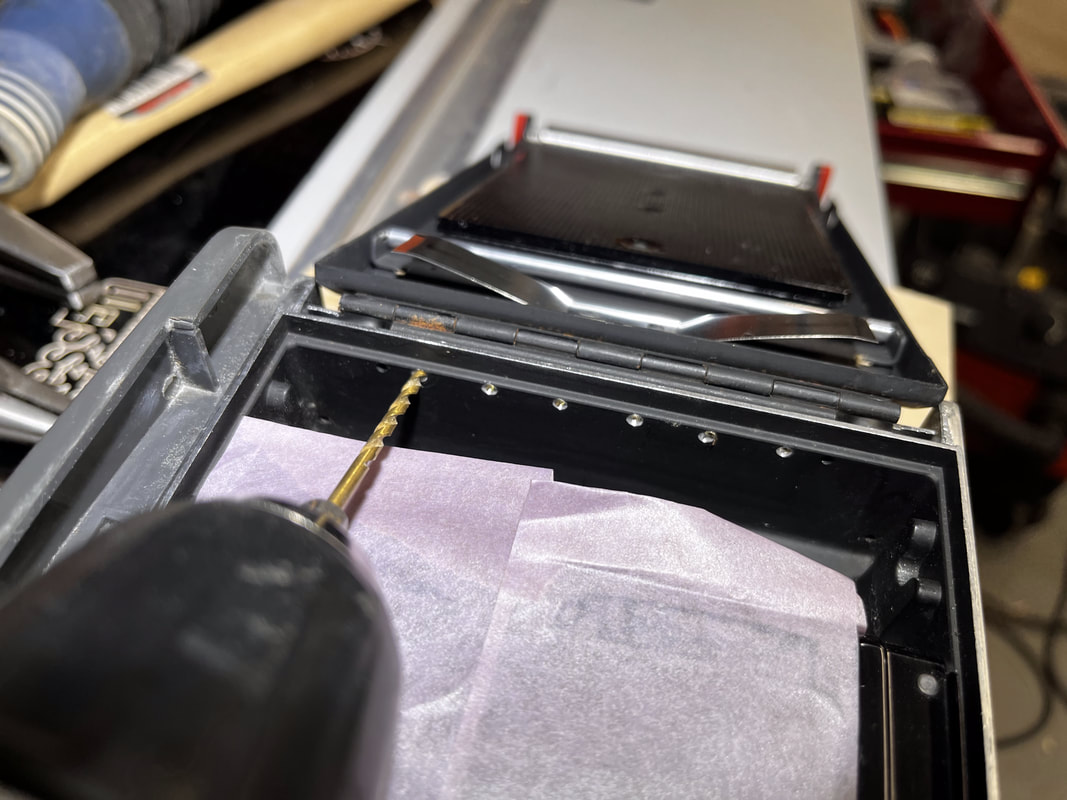
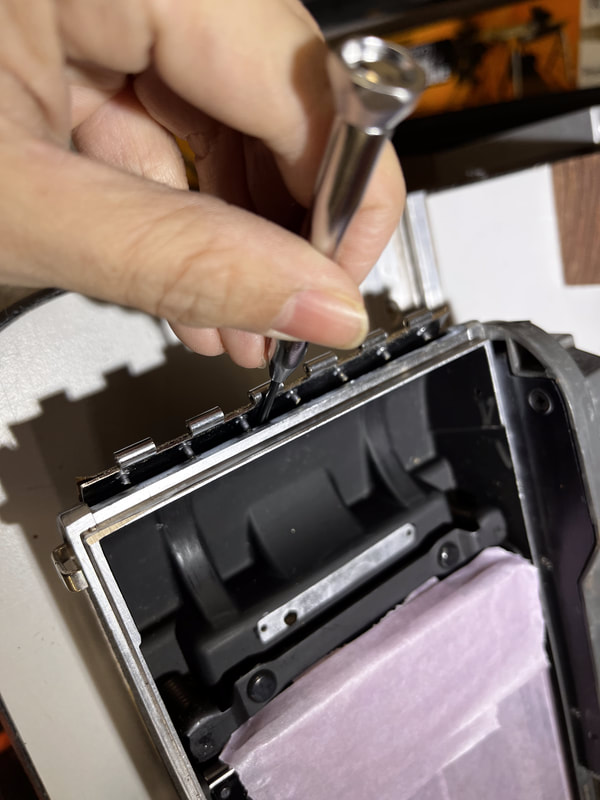
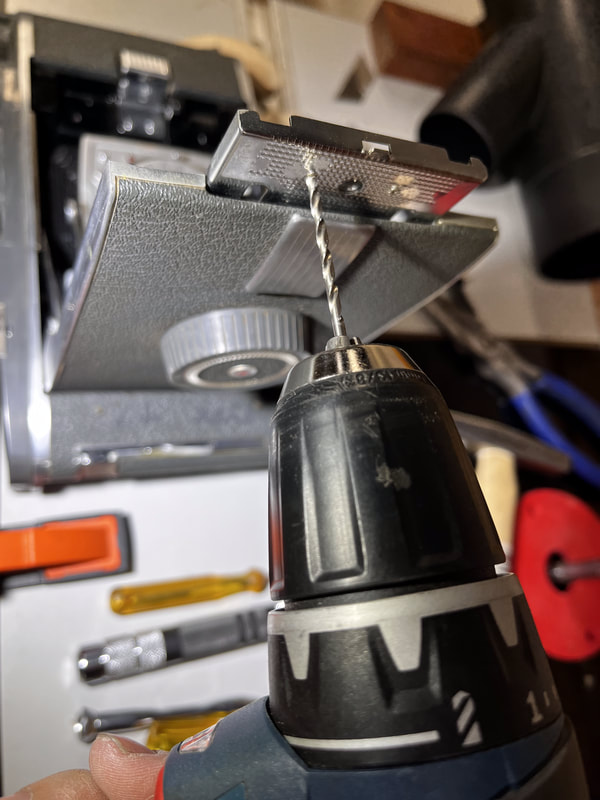
- Drilled out the rivets on the hinges -- in retrospect this would have been best done with the right side hinge only, as the left side hinge doesn't interfere with much except your hand (but you can make a grip to cover this, as Albert did)